There are a lot of different ways to wear your nails. One look that has been getting a lot of attention online is the half-moon manicure. The semi-circle shape can expose your natural nail or a pop of colour underneath. You can also make it any size you want, offering tons of versatility.
Going to the salon for a professional nail job is a wonderful treat. But, sadly, it’s not always cheap! That’s why it’s a great idea to learn some DIY techniques that you can do at home. This look works really well on short nails and long acrylics and is *way* easier to do than it looks.
Now, when you are looking for a more elevated finish than your average one-colour mani, you can create this eye-catching one. Here’s what you need and how to do it yourself.
Read more: Subtle Nail Colours That Make A Statement
Step #1
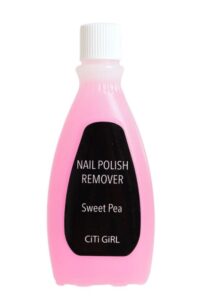
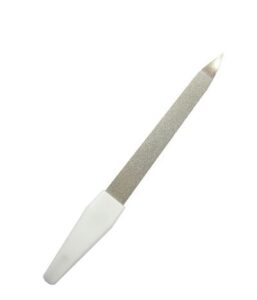
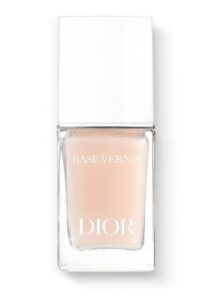
Remove any old varnish from your nails and file them into a neat shape. Then, apply a base coat to make your manicure last. You should use a clear formula if you will be leaving the exposed half-moon shape bare. If you’re using a colour for your half-moon, paint this shade on next and allow it to dry.
Step #2
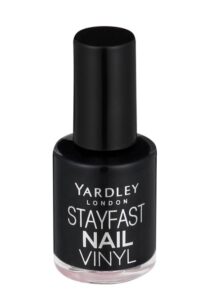
Now, get a small round sticker (the ones that reinforce punched holes are also good) and stick one on each nail. You can choose how far up or down you’d like them, which will then dictate the size of your semi-circle. Then, paint on the top shade you have selected.
Step #3
While the top colour polish is still wet, carefully peel off the stickers. If you wait until they are dry, it could pull the polish off, too. Apply your second coat for vibrancy, being careful not to go over the lines of your circular shape. Once dry, seal in your look and add shine with a top coat.
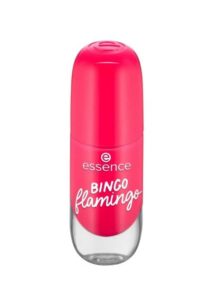
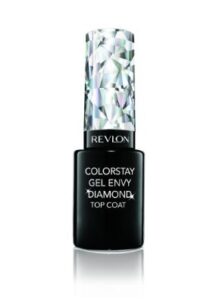
Want to try this trend? Shop the nail products you need online or at your nearest Edgars store.

