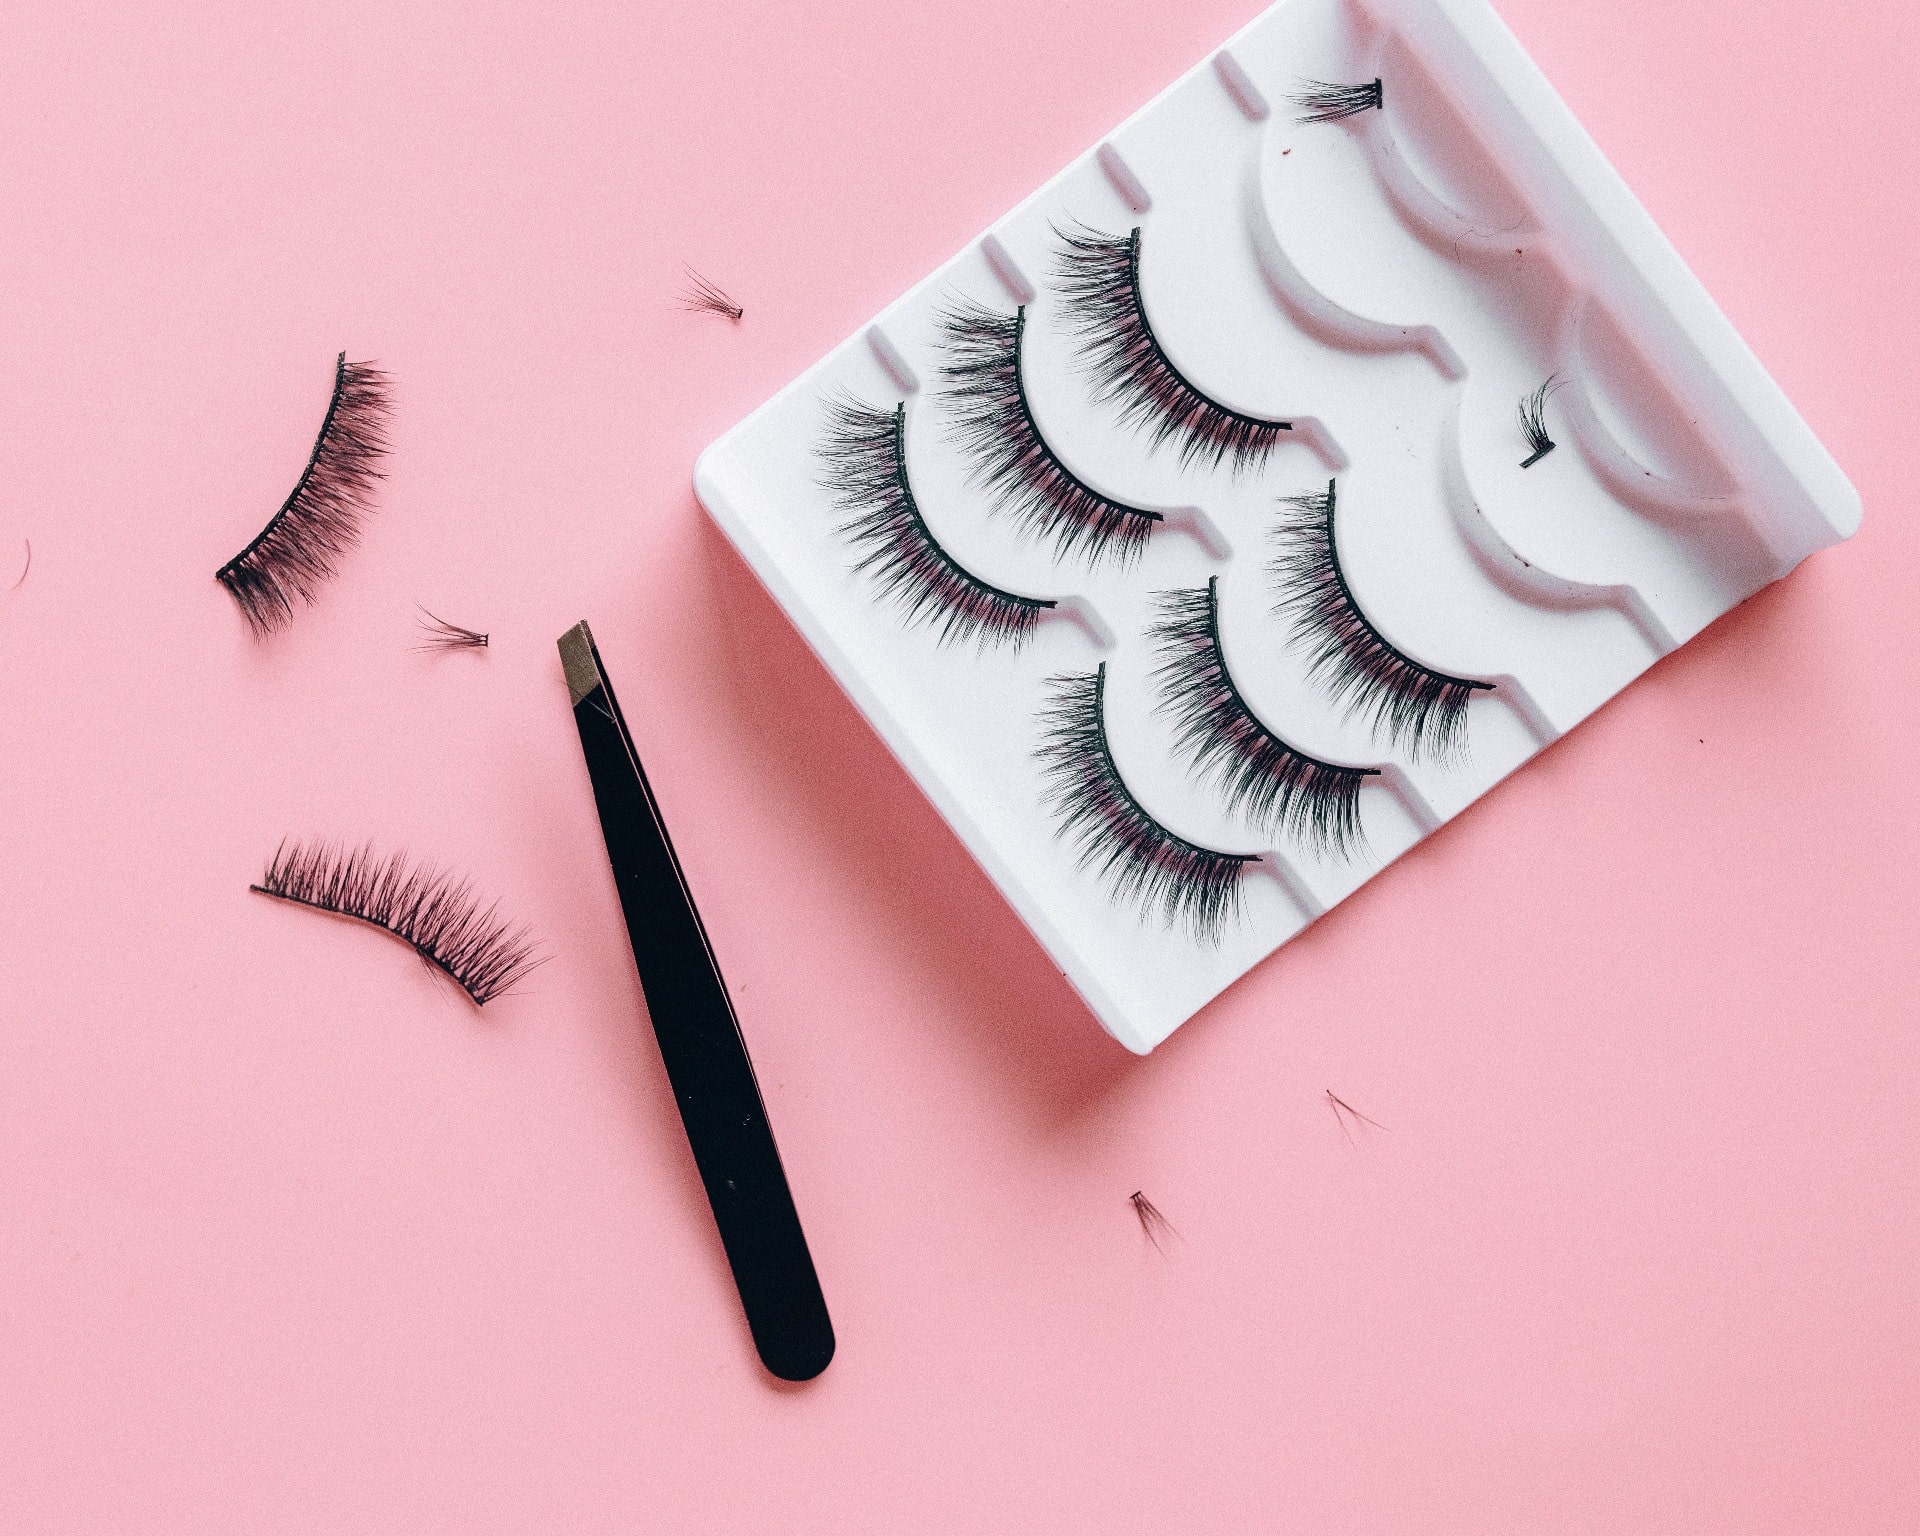
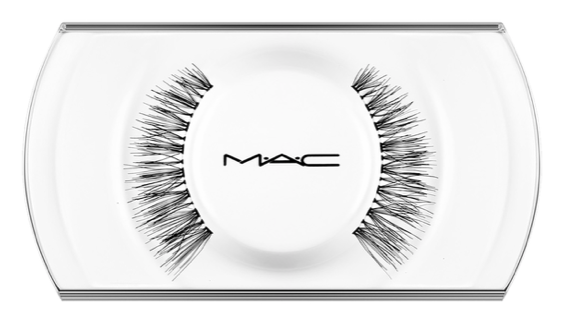
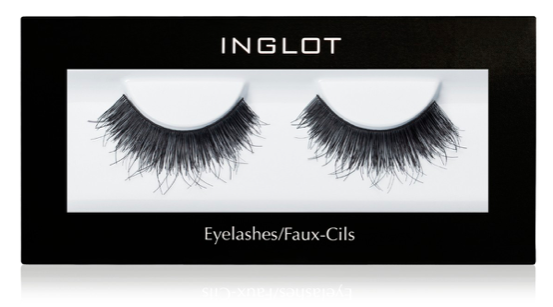
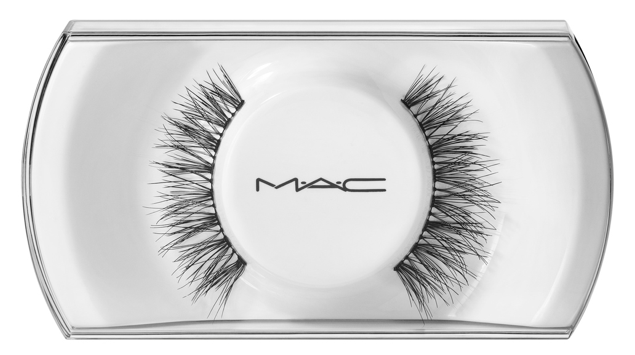
False lashes have a long history and have been around for over 100 years. One thing that hasn’t changed, however, is that they can be complicated to apply. Between getting sticky glue everywhere to getting them to stay put throughout the day, it can be a challenge to pull them off. It’s a real shame that they are so intimidating considering how much they can amplify your eye area.
Fortunately, there are tips and tricks that make-up artists *swear* by to attach them with ease and keep them in place through tears and unexpected weather conditions.
Here’s how to apply your false eyelashes in five simple steps. You’ve got this!
Read more: Make-Up Brushes 101 – Everything You Need To Know
Step 1 First, curl your natural lashes and then apply your mascara. Then, measure the strip of lashes by holding them next to your eyelid. If it is too long, trim the ends so that it fits to size.
Step 2 Hold your lash strip with tweezers and apply the lash glue. Drag carefully from one side to the other with a cotton bud or the applicator. And don’t worry, the white glue will dry clear!
Step 3 Now, we wait! You should wait for around 30 seconds to allow the lash adhesive to become tacky. This ensures that they will stick firmly in place and prevents glue from getting on the falsies.
Step 4 Hold the lash strip in the tweezers in position and then gently press them so that they stick to your eyelids. Before they become fully adhered, you can move them around slightly to get them in the right place.
Step 5 Once you’re happy with the placement of your fake eyelashes, it’s time to fill in any gaps so that they blend in and appear natural. Use an eyeliner that’s black or ties in with the rest of your look.
Want to try out your new lash application skills? Get your falsies online or at your nearest Edgars store.
